
This is where you manage the confirmation email mentioned above in the Edit Assignments section that is used to confirm the booth number and password assigned. This is similar to other email messages sent by the AMS.
The first two options allow you to use a letter that already exists as-is or as a guide for a new letter.
Letter is an optional drop down field that allows you to select an existing letter. If you have more than one show or the content of the letter doesn’t change from year to year, you can select the original letter. This will prefill the Category, Query, Key Code, From Name, From Email and Subject fields as well as the Body content. The selected email will now become associated with this show. The From Name, From Email and Subject fields and Body content can be edited but will be saved as the latest version of the selected Key Code. It is best not to use this option if you want to make changes.
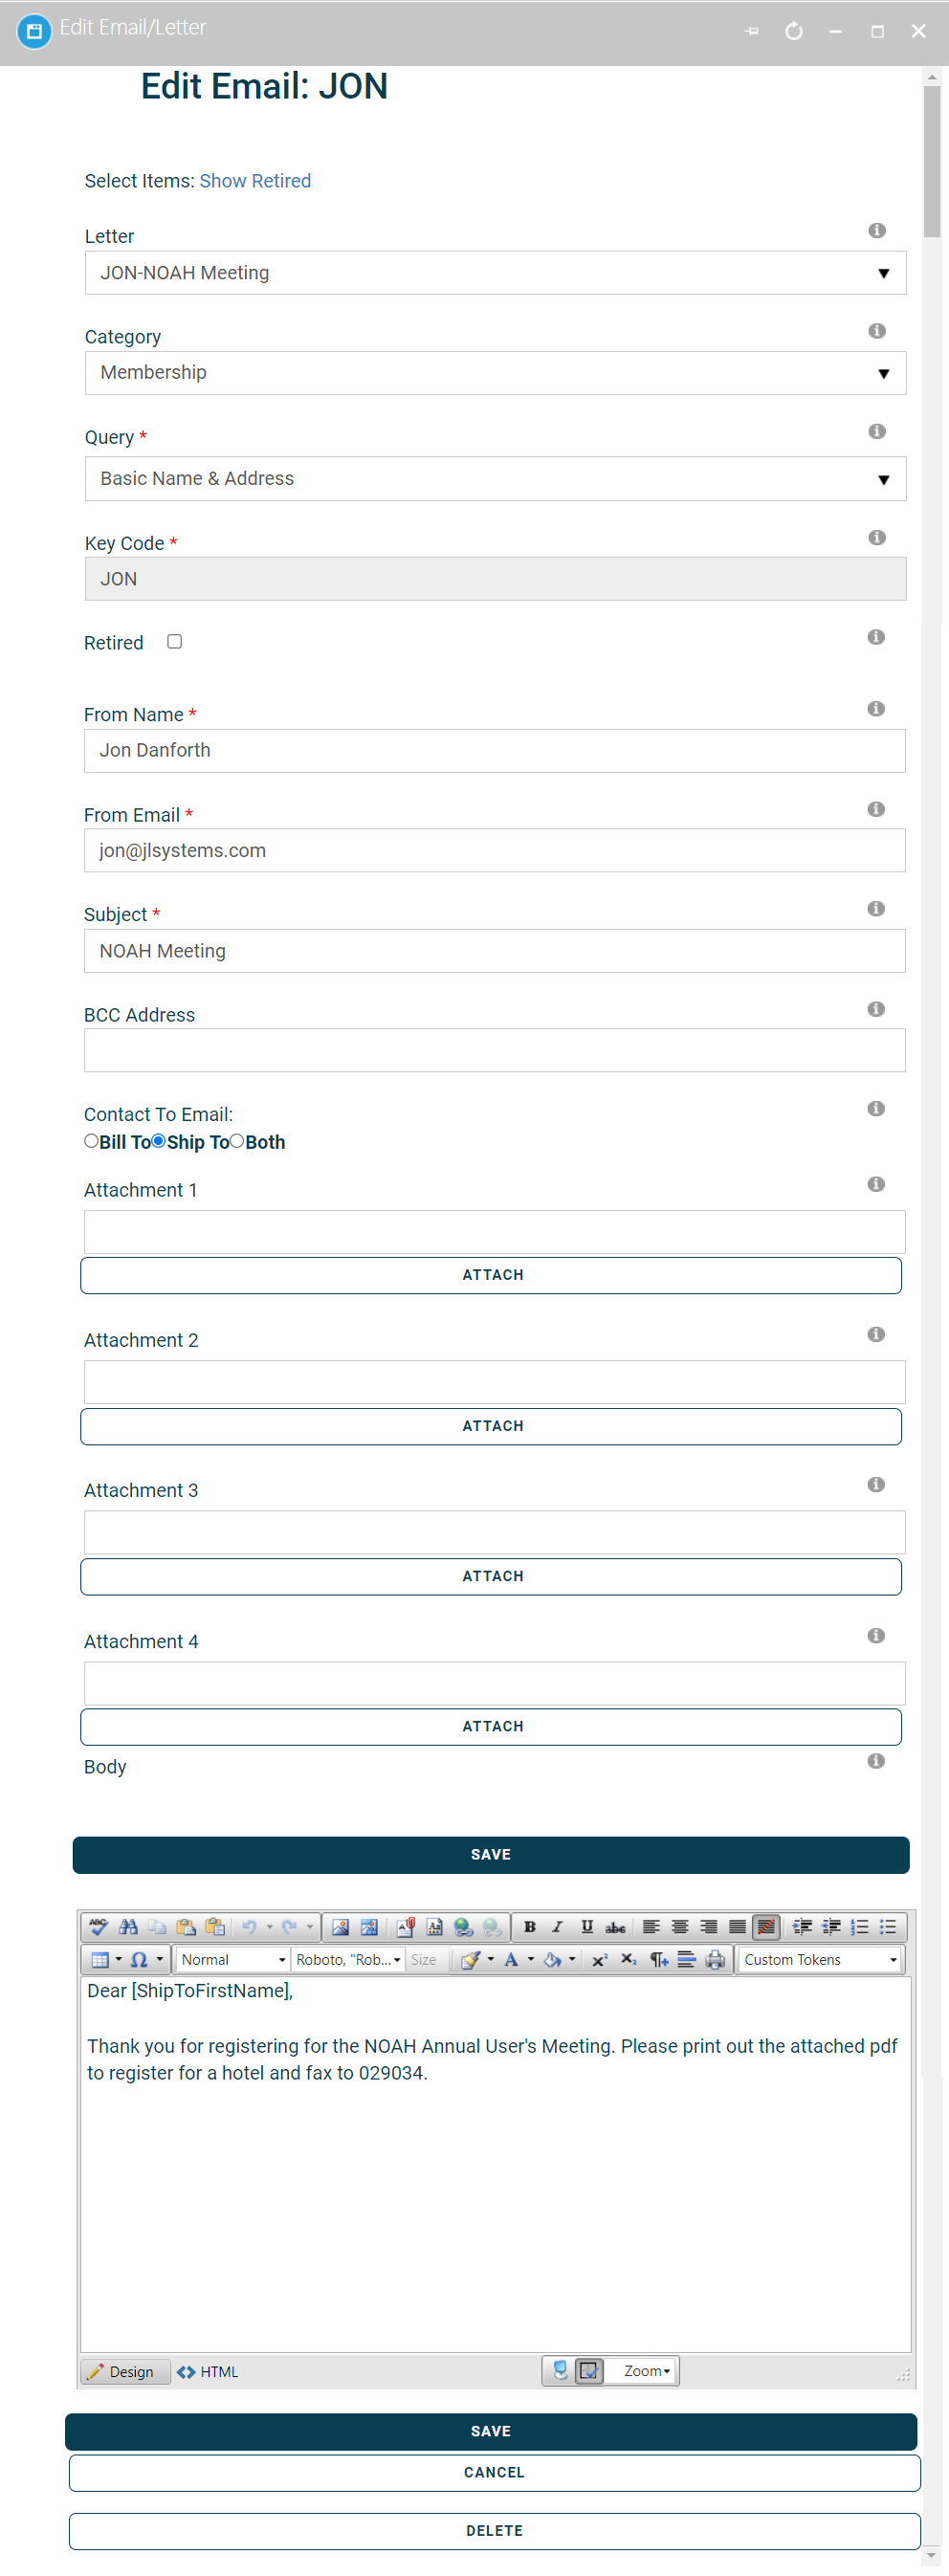
Copy content from the selected letter is an optional drop down field that allows you to select an existing letter to use as a guide to create a new letter. If you want to create a letter that is similar to an existing letter, select the existing letter from the drop down and click the Import button. The Category, Query, From Name, From Email and Subject fields and body of that letter will be copied into the form for you to modify. The Key Code field will be prefilled with a “suggested name, made up of the name of the show (18SHOW) followed by “Bth”. This field, as well as all others can be modified.
If you skip these two options you will create a new booth confirmation email.
Category is a required field and will probably be limited to a single option, BoothConfirm.
Query is a required field and will probably be limited to a single option, Booth Assignment Confirmation.
Key Code or Letter Code is a required field and will be prefilled with a “suggested name, made up of the name of the show (18SHOW) followed by “Bth”.
Retired is an optional check box. When checked and saved, this Letter will no longer be accessible for selection or copying, unless the “Show Retired” link at the top of the control page is selected.
From Name is a required field that will display within the sent email as the “From” sender.
From Email is a required field that will display within the sent email as the sending email address.
Subject is a required field that will display as the Subject line of the email.
BCC Address is an optional field that will send a copy of the email to the email address(es) listed. These email addresses will not appear in the email sent to the intended recipient. Multiple email addresses should be separated by commas. This is commonly a staff email address and is used to monitor what confirmation emails were sent and when.
Attachment 1-4 are optional fields where attached files can be selected. Click the Attach button to access the RDSAttachments folder in your file management portal. Click on a file then click the “Insert” button to select. The path and filename will appear in the Attachment field. The selected files will be attached to each confirmation email sent.
About the Attached files.
It is recommended that you consider the following before attaching files to system email.
- File attachments increase the file size of the email and may put stress on our servers.
- Email Service Providers (ESPs) may delay, limit or block email because of their attachments.
- Individual email programs may block or redirect email with attachments.
- Antispam software at ESPs or the individual level may block or redirect email with attachments.
- Some work environments will not allow the delivery of email with attachments.
Delivering access to files without making them attachments. The best way to give individual email recipients access to additional information related to their transaction is to include links to files from your portal within the body of the email.
Once the required fields have been filled, click on one of the Save buttons. Then return by clicking the Edit the Booth Email button.
The Body field is where you compose the message or body of the email. This field includes an HTML editor toolbar.
While the toolbar options are fairly straight forward, there are a few options I will add more details for. The Document Manager icon  , on the top row of tools will allow you to link directly to files in your portal. This will allow you to give access to specific files without making them attachments.
The Custom Tokens drop down in the bottom row allows you to add personalized “placeholders” into your message.
If you want to start your message with a personalized greeting, you can type, “Dear ,” then start a new line. Place your cursor just before the comma then select “ContactName” or similar option from the Custom Tokens drop down list. Your message will now look like this:
Dear [ContactName],
For each email that is delivered, the Contact Name of the recipient will appear in the greeting. Other Custom Tokens you may want to add to your message may be
- Company Name
- Booth Number
- Password
Here is an example of text that you may want to include in your message:
Here is your booth number [BoothNr] and password [Password]. You can use this in your exhibitor portal to fill in more information and to register your booth personnel.
The Custom Token options depend on your setup and may be different from those shown.
Be sure to add any font or text attributes to your message after you have added the tokens so they will match the rest of the message.
Please Note: The HTML editor resides within a webpage which has its own default fonts for text. This means that a message with no formatting applied to it may still ‘appear’ with an acceptable font on the page, but will appear differently within the sent email.
When you are finished modifying the message, click on one of the Save buttons. If you wish to start over completely, click the Delete button. This will delete the new confirmation email no matter how many times it may have been saved. To stop modifying the email or settings and return to the last saved status click the Cancel button.