

The Notification Emails button takes you to a page where the various email notifications are setup for the selected event.
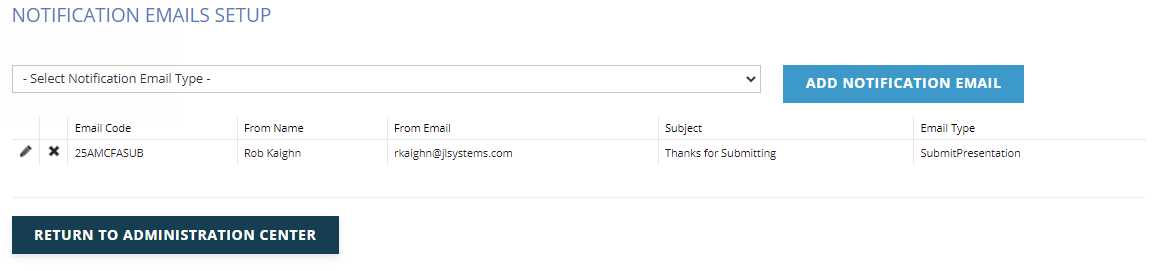
The grid will show the nonfictions that have already be setup for this event. Notifications can be set for any of the following
- CreatePresentation- This message will be sent to the submitter once they first save (create) a submission. Usually this will have deadline and other instructions for the submitter.
- AddCoAuthor- This message will be sent to Co Authors when they are added to a submission for notification purposes.
- SubmitPresentation- This message will be sent to the submitter upon submission. Usually a thank you message that lets the submitter know what the next steps in the process are and when they may be notified if accepted or declined.
- ApprovePresentation-This message will be sent to the submitter upon approval.
- DeclinePresentation-This message will be sent to the submitter when declined.
NOTE: For the Approve and Decline emails, most organizations want these to all be sent at the same time, not as each submission is approved or declined. Use the Presentation Center Submission Bulk Emails (HTML) report under Presenter Center Reports & Exports to notify all submitters at the same time.
To add a new email, choose the Notification Email Type from the drop down and click the Add Notification Email. You can also use the edit and delete icons to edit or delete and existing notification email.
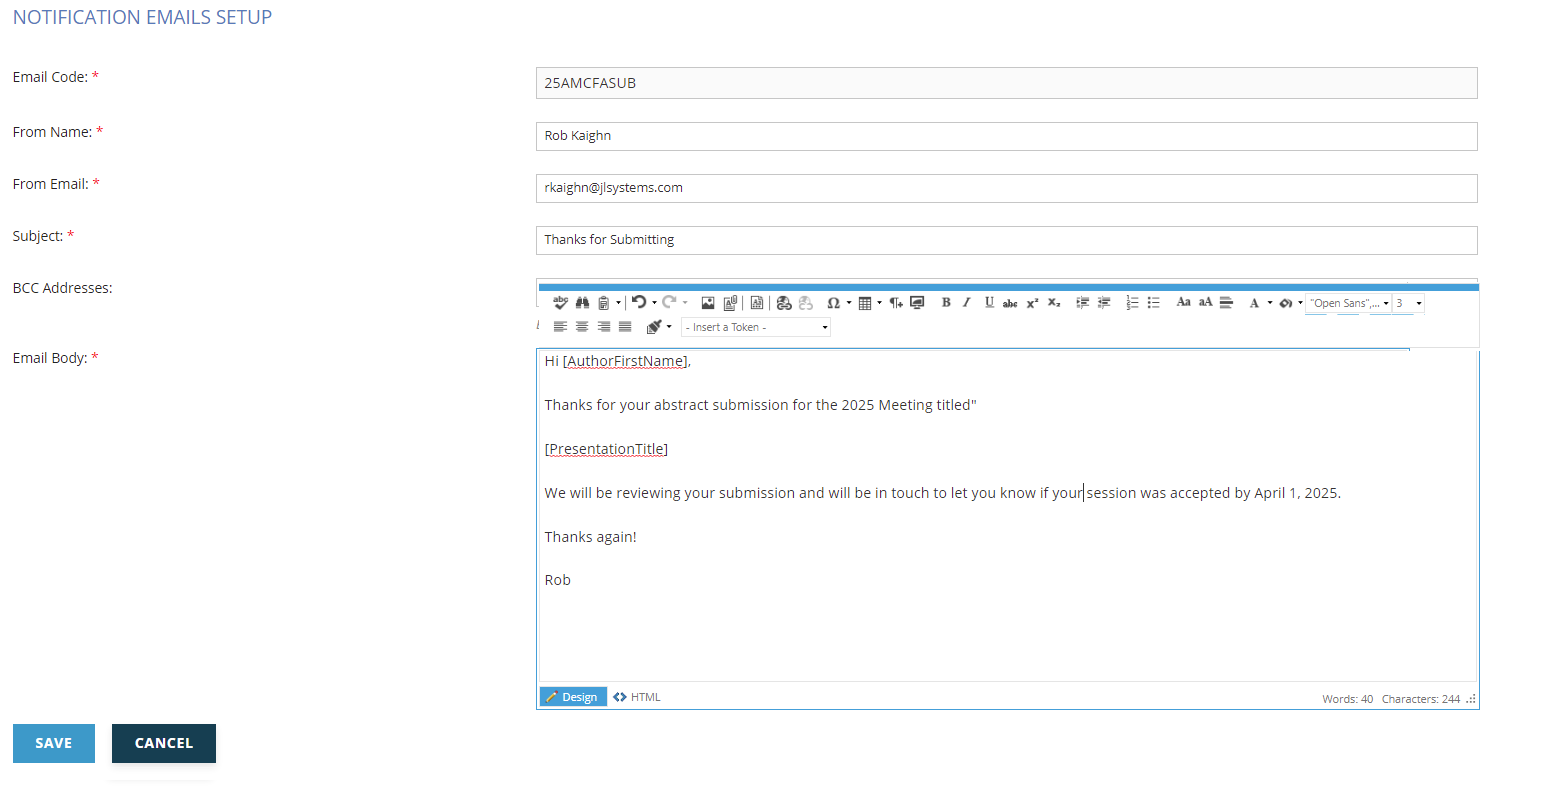
Email Code is a unique identifier for this mailing. It needs to be distinct from all the other emails you send out and can be up to 15 characters long.
The From Name and From Email are for the person this message will be from. The Subject is the subject line of the message, and the BCC Addresses are those who will be BCC every time this message is sent, separated by a semi-colon. If you have lots of submissions, those in the BCC will get lots of emails.
The Email Body will be the body of the message sent. Clicking in the editor box will enable the menu to format the message and you can use the Insert a Token drop down to personalize the message.