
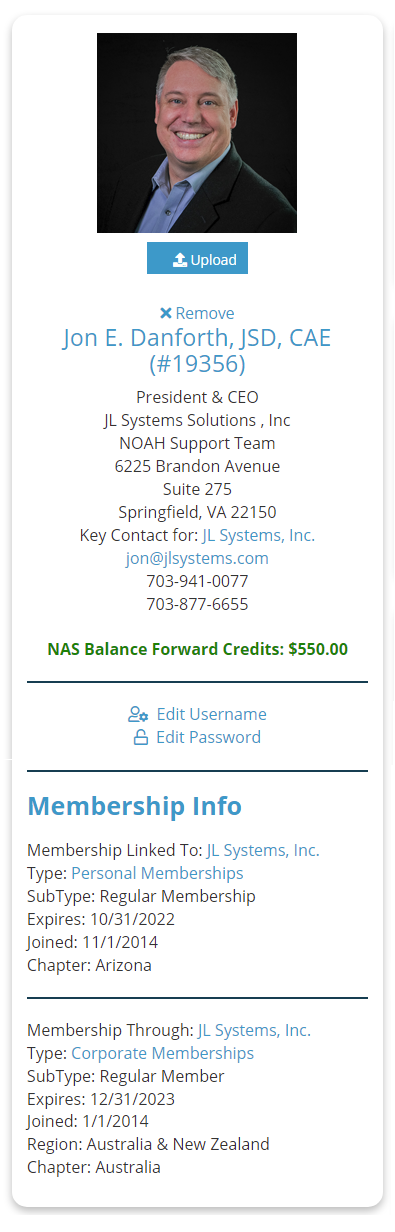
 The left area of the profile screen is used to display information about the selected contact and remains visible at all times when moving between the detail screens. Information includes:
- A photo
- Name and contact information
- Any Balance Forward Credits
- Links to Edit Username and Password for the website
- Membership information
To add a photo to your profile header, first make sure you are logged in to a computer or mobile device where the photo to be used is stored. Then click on the Upload button and your File Manager should open. Once you have found and selected the desired photo, click Open in your File Manager window. The photo will be uploaded to the AMS and appear in the photo upload area of the Profile Header. Once a photo has been uploaded, a clickable option to Remove the photo appears, which should be used if there is a need to switch photos. The same photo will be used in the contact’s online profile, and likewise if a contact changes their own photo it will then be displayed in the AMS when you view their record.
The Contact's name is a link to the Profile screen where you can edit information for this Contact.